A DIY Kitchen Faucet Installation Guide

It typically takes a plumber 1-2 hours to swap out a kitchen faucet, and it won’t take you much longer thanks to the simplicity of our Moen pulldown kitchen faucets. Before you get started, make sure you have all the right tools for your DIY kitchen faucet installation:
- Basin Wrench
- Adjustable Wrench
- Screwdriver
A bucket and rags will also be helpful to catch water that may drip from your supply lines. Everything else, including the supply hoses and installation instructions, will come inside the package.
Removing Your Old Faucet
Before starting your DIY faucet installation, you’ll need to remove your old faucet, which can be completed in three simple steps.
Step 1: Turn Off Your Water And Clear Your Supply Lines
The first thing you need to do is turn off the water. One way to do this is to shut off the water to your home. The valve is typically located in the basement and should be within 5 feet from where the water main enters your home. The faucet you’re replacing may also have a water shutoff valve below the kitchen sink that you can turn off instead.
Once the water is off, turn your faucet on to drain the water. Place the bucket and rags below the copper pipes before disconnecting the old supply lines and removing the fittings. This will help you avoid a mess, since water will likely dribble from the supply lines.

Step 2: Disconnect Your Supply Lines
Once your bucket and rags are in place, it’s time to use your basin wrench to disconnect the supply lines. If you have a sprayer or soap dispenser you’d like to replace, be sure to remove that along with the faucet lines.
Step 3: Remove Your Faucet
Lastly, a plastic or metal mounting nut will be holding your current faucet to the sink. Use your basin wrench to remove it and then detach your faucet. If you’re struggling to remove the mounting nut, heating it with a hairdryer can soften the plastic. If you find yourself struggling, check out this DIY video by DoitBest.

Installing Your New Faucet
Once you’ve removed your old faucet, the hard part is done! Now it’s time to complete your Moen kitchen faucet replacement with the step-by-step plumbing installation instructions included in the installation guide.
Step 1: Clean Your Sink And Mount Your Faucet
First, clean away any mold or corrosion around the holes. If your sink is set up for a 3-hole faucet, place the deck plate gasket onto the deck plate and then install your faucet through the center hole. You won’t need a deck plate if your sink has a single hole configuration. If your original faucet had a fourth hole for an accessory that you removed, consider replacing it with a Moen Instant Hot SIP™ Faucet and tank, a drinking water faucet with filtered water or a soap dispenser.

Step 2: Tighten The Mounting Nut
Next, slide the mounting washer onto the faucet bolt hanging below the sink, in the same way that you removed the mounting nut from your original faucet. Moen pulldown faucets come with a special tool to help, but you can also use a basin wrench.

Step 3: Connect Your Supply Lines
Once the faucet is attached to your sink, install the hose protector and attach the flexible water supply lines to the shutoff valves. Tighten them until they are secure. Moen faucets come with compression fittings on their braided supply lines, so there’s no need to struggle with Teflon tape.
Step 4: Install The Reflex Hose
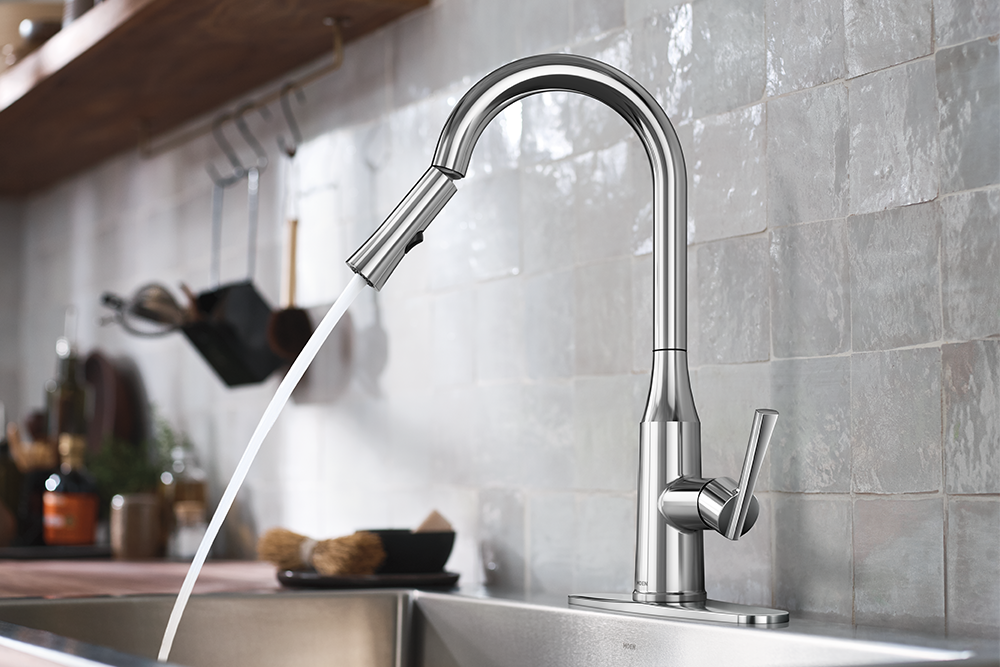
Moen pulldown kitchen faucets include a spray head with a flexible hose so you can reach and rinse every corner of your sink. The next step is to insert the small end of the hose into the spout and feed it through the faucet body. Then, insert the hose into the supply line Quick Connect Adaptor — you’ll hear a click when it’s attached. Next, you’ll want to attach the hose weight so your pulldown faucet will retract on its own with the Reflex™ system. Find the locator mark on the hose and clip the weight on between the mark and the bottom of the hose curve.

Step 5: Flush Your Supply Lines
Before you attach the spray head, make sure your faucet is in the off position and turn the water on to clear the lines and test the hot and cold-water supply.
Step 6: Attach The Spray Head
Finally, you need to attach your spray head. Remove the protective spray cap from the spray wand, then attach it to the pulldown hose. Screw it on gently with your fingers and then tighten it with your adjustable wrench. It’s important not to overtighten it and to test that everything is working properly.

By following these step-by-step instructions, you can easily replace your old faucet with a modern pulldown faucet to complete your DIY kitchen makeover. Remember to take your time, double-check each connection and then enjoy the satisfaction of a job well done.